Understanding Modern Electrical Panel Installation
Installing a circuit breaker panel represents one of the most critical aspects of a building's electrical system. This central hub distributes power throughout your home or business while providing essential safety features to prevent electrical fires and system overloads. Whether you're upgrading an outdated fuse box or installing a circuit breaker panel in a new construction, understanding the proper installation process is crucial for both safety and functionality.
The electrical panel serves as the primary distribution point where incoming power from utility lines splits into individual circuits. Modern circuit breaker panels offer improved safety features, greater capacity, and better overall performance compared to older systems. However, proper installation requires extensive knowledge of electrical systems and adherence to strict safety protocols.
Essential Preparation and Safety Measures
Required Tools and Materials
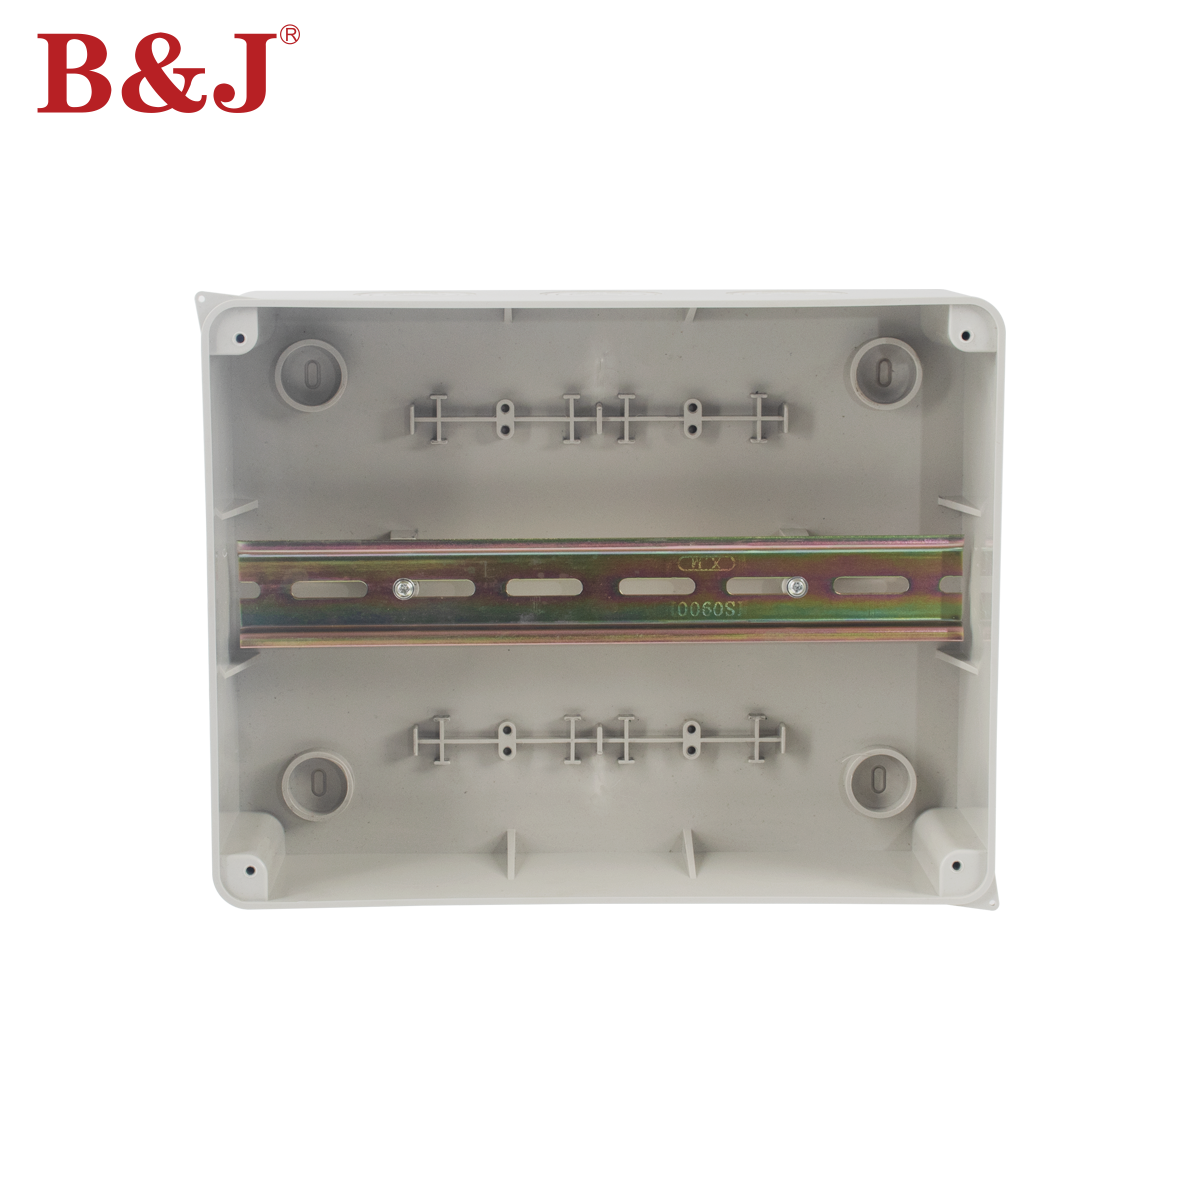
Before beginning the circuit breaker panel installation, gathering the correct tools and materials is essential. You'll need a voltage tester, wire strippers, screwdrivers, pliers, level, drill, mounting screws, and appropriate electrical cables. The circuit breaker panel itself should be sized according to your electrical needs, typically ranging from 100 to 200 amps for residential applications.
Quality matters when selecting your panel components. Choose circuit breakers from reputable manufacturers, ensure proper wire gauges for each circuit, and verify that all materials meet local electrical codes. Having spare parts and additional breakers on hand can save time during the installation process.
Safety Protocols and Permits
Working with electrical systems requires strict adherence to safety protocols. Before any installation work begins, secure necessary permits from local authorities. Familiarize yourself with National Electrical Code (NEC) requirements and local regulations. Personal protective equipment, including insulated gloves and safety glasses, should always be worn during installation.
Ensure the main power supply is completely disconnected before starting work. Use proper lockout/tagout procedures to prevent accidental power restoration during installation. Having a qualified assistant present can provide both safety support and practical help throughout the process.
Professional Installation Process
Mounting and Positioning
Proper positioning of the circuit breaker panel is crucial for both safety and accessibility. The panel should be mounted securely to wall studs or appropriate support structures. Maintain required clearances around the panel - typically 30 inches wide, 36 inches deep, and 6.5 feet high. Use a level to ensure the panel is perfectly vertical, as this affects both appearance and proper breaker operation.
Consider factors such as accessibility for future maintenance, protection from physical damage, and proximity to water sources when choosing the mounting location. The panel must be installed in a dry, indoor location away from flammable materials and corrosive environments.
Wiring and Connections
The wiring phase requires careful attention to detail and precise execution. Begin by installing the main service cables, ensuring proper sizing for your panel's amperage rating. Strip wire ends carefully, avoiding nicks that could compromise conductor integrity. Make connections tight and secure, as loose connections can lead to overheating and potential fire hazards.
Each circuit requires careful planning for load distribution and wire routing. Label all circuits clearly during installation for future reference. Install ground and neutral buses according to manufacturer specifications, ensuring all connections are properly torqued. Double-check all connections before proceeding to the next step.
Testing and Verification Procedures
Initial Testing Protocol
Once the circuit breaker panel installation is complete, thorough testing is essential before energizing the system. Begin with continuity tests on all circuits to verify proper connections. Check for proper grounding and neutral connections. Measure voltage levels at various points to ensure correct phasing and voltage distribution.
Use thermal imaging if available to check for potential hot spots that might indicate poor connections. Verify that all breakers are properly seated and functioning correctly. Test GFCI and AFCI breakers according to manufacturer specifications to ensure proper operation.
Final Inspection and Documentation
Schedule an inspection with local authorities to verify compliance with all applicable codes. Document all installation details, including circuit assignments, load calculations, and any modifications made during installation. Photograph the completed installation for future reference and warranty documentation.
Create a detailed panel schedule showing which circuits control which areas or appliances. This documentation proves invaluable for future maintenance and troubleshooting needs. Keep copies of all permits, inspection reports, and manufacturer documentation in a safe location.
Maintenance and Future Considerations
Regular Maintenance Schedule
Establishing a regular maintenance schedule helps ensure the longevity and safety of your circuit breaker panel. Perform visual inspections monthly to check for signs of overheating, corrosion, or damage. Test breakers quarterly by manually tripping and resetting them to verify proper mechanical operation.
Keep the panel clean and free from dust and debris. Listen for unusual sounds like buzzing or clicking that might indicate problems. Monitor the temperature around the panel during peak usage times to detect potential overloading issues.
Upgrade Considerations
Plan for future electrical needs when installing your circuit breaker panel. Consider including extra spaces for additional circuits that might be needed later. Monitor technological advances in circuit protection and smart home integration that might benefit your installation in the future.
Stay informed about changes in electrical codes and safety standards that might affect your installation. Consider energy monitoring systems that can help optimize electrical usage and identify potential problems before they become serious.
Frequently Asked Questions
How long does a typical circuit breaker panel installation take?
A professional installation typically takes between 8-10 hours for a complete replacement, though this can vary depending on the complexity of the installation and whether any unforeseen issues arise. New construction installations might take less time since there's no existing wiring to remove.
What size circuit breaker panel do I need for my home?
For most modern homes, a 200-amp panel is recommended to handle typical electrical loads. However, smaller homes might function well with 100-amp service, while larger homes with heavy electrical demands might require 400-amp service. A professional load calculation should be performed to determine the appropriate size.
Can I install a circuit breaker panel myself?
While it's technically possible, installing a circuit breaker panel is a complex and potentially dangerous task that should only be performed by licensed electricians. Improper installation can result in serious safety hazards, code violations, and insurance issues. Always hire a qualified professional for this critical electrical work.