 EN
EN

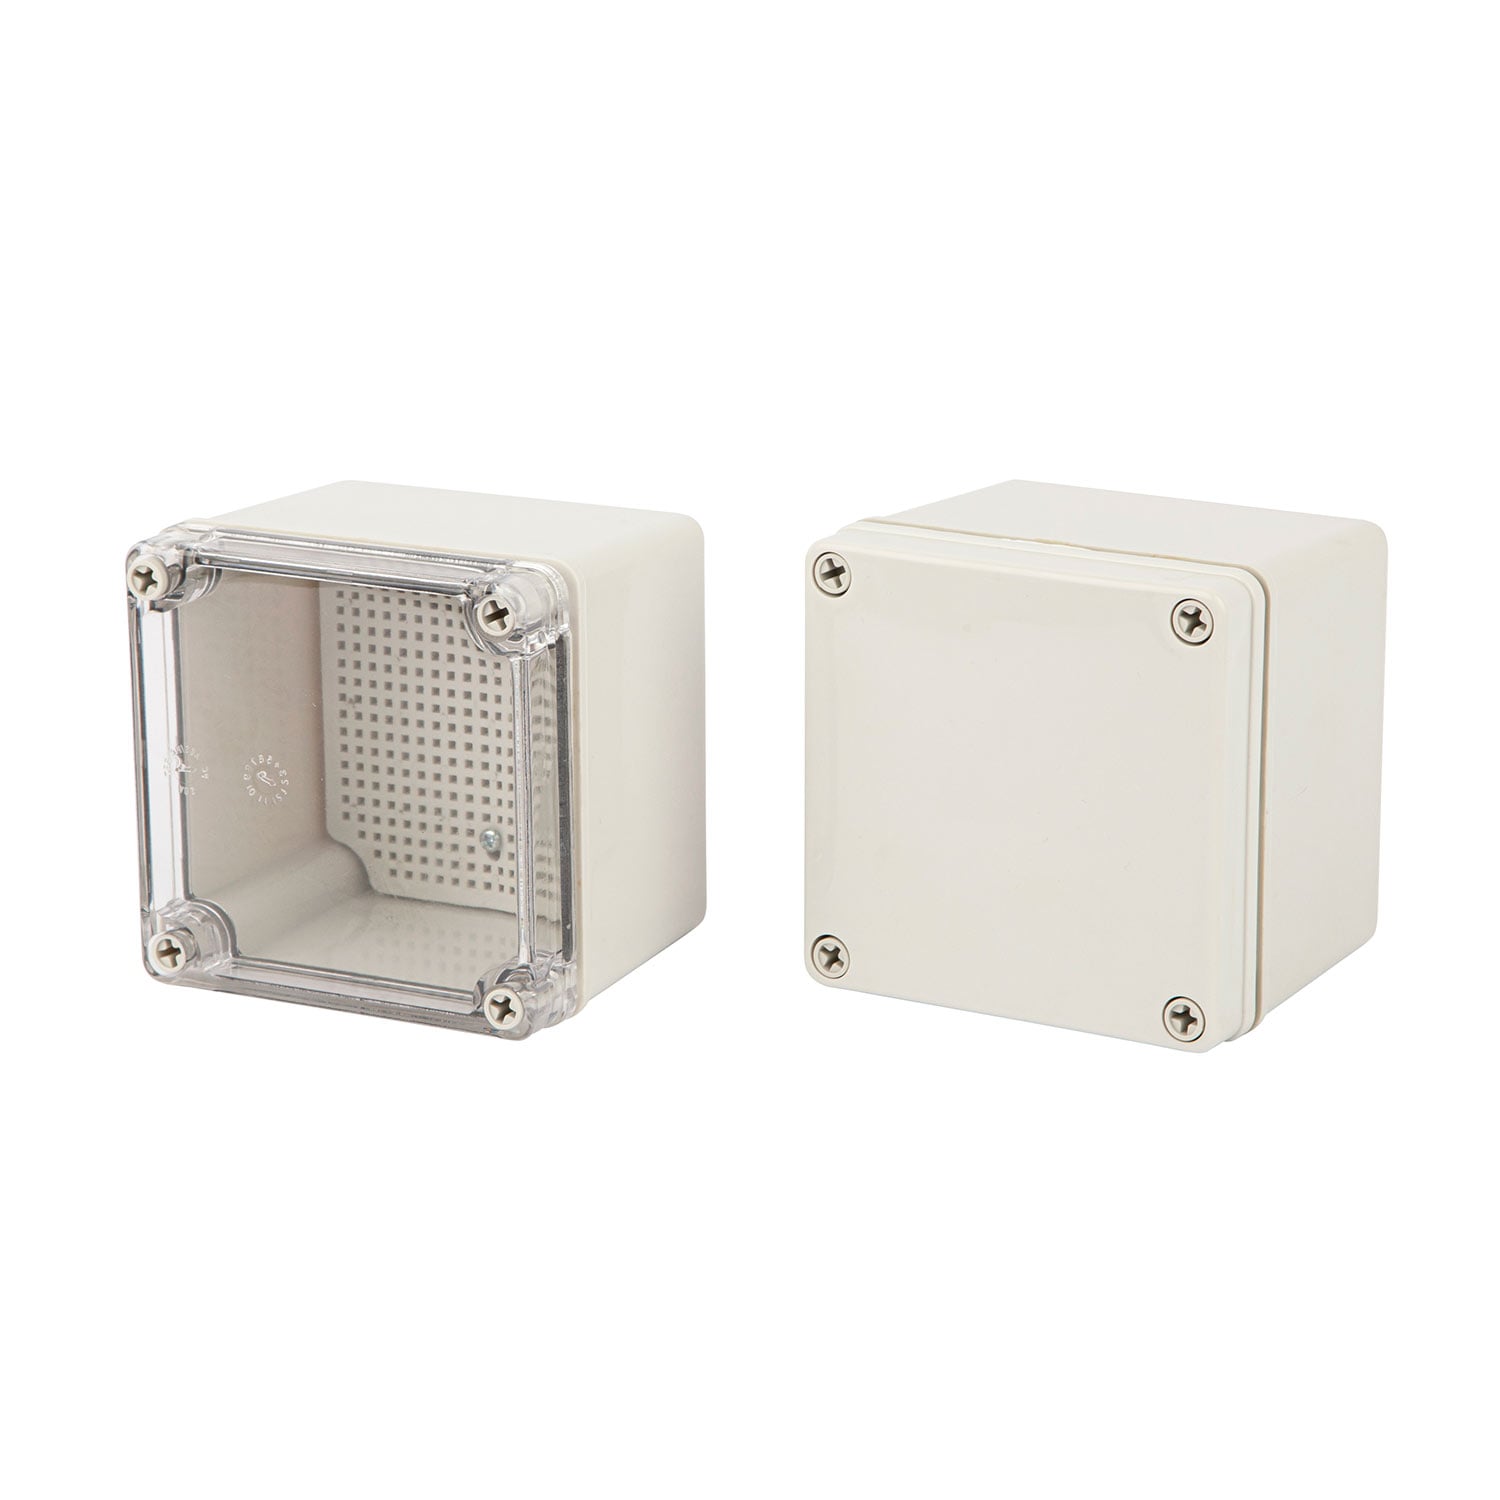
When a storm rolls in without warning, the safety of your outdoor electrical components depends entirely on how well your waterproof enclosure is sealed. Whether you are dealing with a junction box on a rooftop, a control panel mounted outside a facility, or a sensor housing exposed to the elements, a compromised waterproof enclosure can lead to short circuits, equipment damage, and costly downtime. The good news is that emergency rain-proofing does not require a full maintenance crew or hours of work — if you know what to do, you can seal a waterproof enclosure in five minutes flat.
This guide walks you through the exact steps to assess, prepare, and re-seal a waterproof enclosure under time pressure. Every minute matters when rain is approaching, so this article focuses on practical, field-tested actions rather than lengthy theory. From checking the gasket condition of your waterproof enclosure to applying quick-cure sealants, you will have everything you need to act decisively and protect your equipment before water intrusion causes real harm.
Assessing the Waterproof Enclosure Before You Seal
Identifying Failure Points Quickly
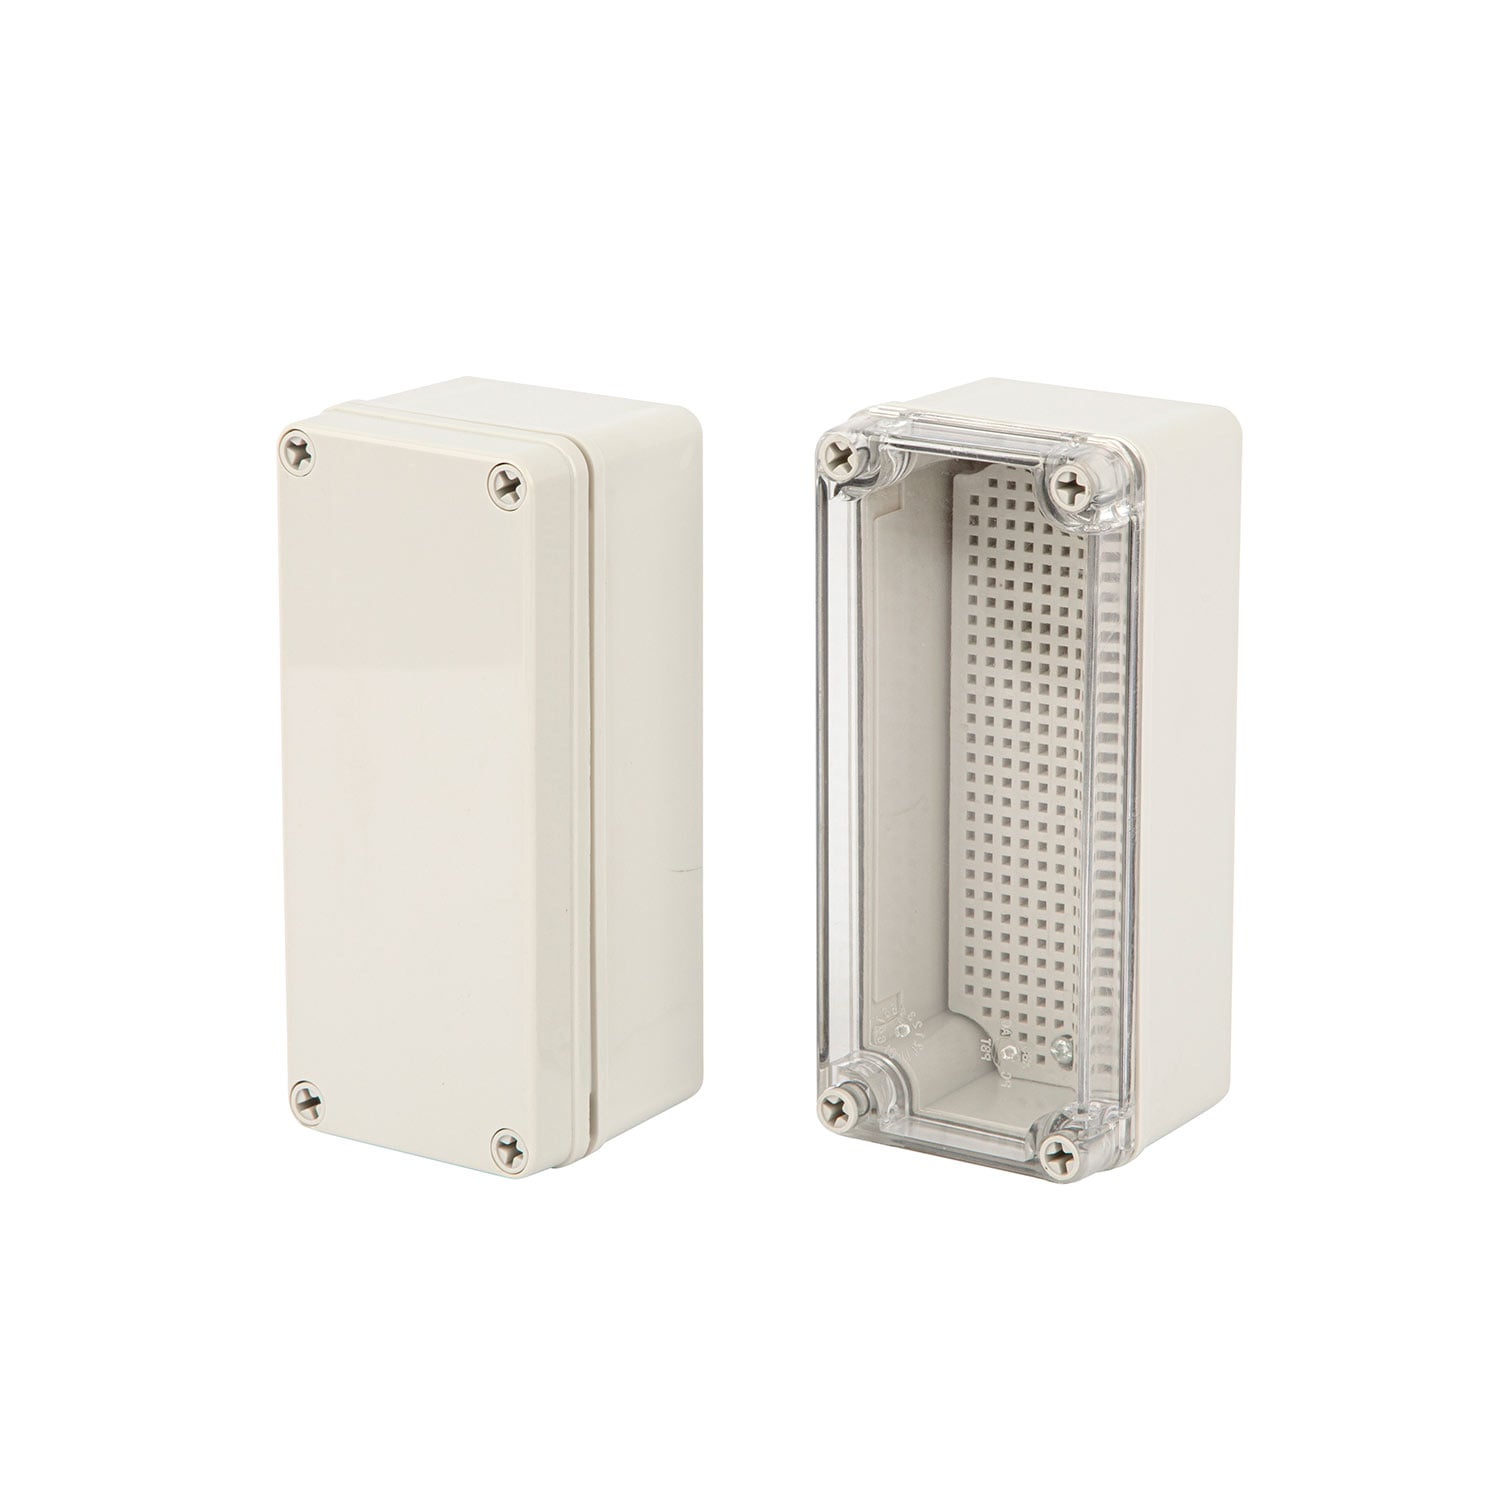
Before applying any sealant, spend sixty seconds inspecting your waterproof enclosure for visible failure points. Open the waterproof enclosure and look at the perimeter gasket first. A gasket that is cracked, compressed flat, or missing entirely will allow water ingress no matter how tightly you close the lid. Run your finger along the gasket channel of the waterproof enclosure to feel for gaps, tears, or areas where the seal material has shrunk away from the groove.
Next, examine the cable entry points of the waterproof enclosure. Poorly fitted cable glands or missing gland plugs are among the most common causes of water intrusion in a waterproof enclosure. Check that each cable gland is tightened firmly and that no unused entry holes are left open. A single uncapped hole can instantly compromise an otherwise reliable waterproof enclosure. If you spot cracked housing or a warped lid, note those as secondary issues to address after immediate sealing is complete.
Rating and Expectation Check
Understanding the original IP rating of your waterproof enclosure helps you set realistic expectations. An IP67 waterproof enclosure is designed to withstand temporary submersion, while an IP65 waterproof enclosure handles water jets but not immersion. Emergency field sealing will not restore a degraded waterproof enclosure to its original factory rating, but it will significantly reduce water ingress risk during a rain event. Know what protection level you are working toward, and approach your waterproof enclosure repair accordingly.
The Five-Minute Sealing Process for a Waterproof Enclosure
Preparing the Surface in Under Two Minutes
Start by wiping down the gasket channel of your waterproof enclosure with a dry cloth or paper towel. Remove any debris, dust, or moisture from the sealing surface of the waterproof enclosure. Moisture trapped under a new sealant bead will prevent adhesion and cause the seal to fail quickly. If you have a small packet of isopropyl alcohol wipes, run one quickly along the lid channel of the waterproof enclosure — this dramatically improves how well emergency sealants bond to the housing material.
If the gasket of your waterproof enclosure is still present but showing minor cracks, do not remove it yet. A partially intact gasket still offers some compression resistance. You will apply sealant over and around it to bridge the gaps. Only remove a gasket from a waterproof enclosure if it is completely detached or rolled out of its channel, as removing a partial gasket wastes precious time during an emergency seal job.
Applying Emergency Sealant to the Waterproof Enclosure
Silicone sealant is the fastest and most accessible option for emergency field work on a waterproof enclosure. Use a neutral-cure silicone rather than an acetoxy type, as acetoxy silicone releases acetic acid during curing, which can corrode metal components inside the waterproof enclosure. Apply a continuous thin bead of silicone around the full perimeter of the waterproof enclosure lid channel. Do not leave gaps or stop and restart the bead mid-run, as discontinuities in the sealant line are where water finds its way into a waterproof enclosure.
Close the lid of the waterproof enclosure firmly and apply even hand pressure along all four sides. This presses the silicone into the channel and creates a conformal seal inside the waterproof enclosure. For enclosures with screw-down lids, tighten the fasteners gradually in a cross pattern rather than fully tightening one corner at a time. This distributes compression evenly and ensures the gasket channel of the waterproof enclosure is fully engaged along its entire length. Wipe away any excess silicone that squeezes out from the sides of the waterproof enclosure using a dry cloth.
Cable Gland and Entry Point Sealing
Once the lid is sealed, turn your attention back to the cable entry points of the waterproof enclosure. Tighten each cable gland by hand until firm, then give it one additional quarter-turn with pliers if available. Apply a small ring of silicone around the base of each cable gland where it meets the housing of the waterproof enclosure. Any unused entry holes in your waterproof enclosure should be fitted with the appropriate blanking plugs or, as an emergency measure, sealed with a small amount of silicone forced firmly into the opening.
If your waterproof enclosure has a drain valve, verify it is closed and not clogged. A blocked drain in a waterproof enclosure rated for outdoor use can cause pressure buildup during heavy rain, which forces water past the seal. A quick visual check of the drain area of the waterproof enclosure adds only ten seconds but can prevent a significant failure during a prolonged storm.
Post-Seal Verification for Your Waterproof Enclosure
Quick Field Tests Before Rain Arrives
After sealing, perform a rapid field test on your waterproof enclosure if time allows. Pour a small amount of water over the top of the waterproof enclosure and watch carefully for any trickle lines or beading patterns that indicate a gap in the seal. Pay special attention to the four corners of the waterproof enclosure, as corners are the highest-stress points in any gasket or sealant system and the most likely locations for early seal failure.
If you see water running into a seam of the waterproof enclosure, apply an additional targeted bead of silicone directly to that area and press it in firmly with a gloved finger. A waterproof enclosure that passes a basic pour test is well positioned to survive a standard rain event. Schedule a full professional inspection of the waterproof enclosure within 48 hours to restore it to its original rated performance level.
Long-Term Follow-Up After Emergency Sealing
Emergency sealing is a temporary measure, not a permanent solution for a waterproof enclosure with a degraded gasket. After the weather event, plan to replace the gasket of your waterproof enclosure with a manufacturer-spec seal. Clean all residual silicone from the gasket channel using a plastic scraper to avoid damage to the housing material of the waterproof enclosure. Inspect the internal components of the waterproof enclosure for any moisture that may have entered before the emergency seal was applied, and allow full drying time before restoring power.
FAQ
Can I use any silicone sealant on a waterproof enclosure?
Not all silicone types are equally safe for a waterproof enclosure. Use neutral-cure silicone to avoid corrosion of metal parts inside the waterproof enclosure. Avoid acetoxy-cure products in any sealed waterproof enclosure containing sensitive electronics or metal terminals.
How long does emergency silicone take to cure on a waterproof enclosure?
Most neutral-cure silicones form a skin on a waterproof enclosure within 15 to 30 minutes and reach functional water resistance within one to two hours. For a waterproof enclosure exposed to heavy rain, allow at least 30 minutes of cure time before full water exposure if possible.
Does emergency sealing restore the original IP rating of a waterproof enclosure?
No. Emergency field sealing a waterproof enclosure does not restore its certified IP rating. It reduces immediate water ingress risk significantly, but only a full gasket replacement and professional reassembly can return a waterproof enclosure to its original tested and certified protection level.