For small server rooms, every square foot of floor space is a premium resource. When racks and freestanding cabinets start crowding the room, IT managers and facilities engineers are often forced to make painful trade-offs between equipment capacity and operational accessibility. The good news is that a single infrastructure decision can reclaim nearly half of your used floor area: deploying a wall mounted enclosure instead of a floor-standing alternative. This approach is not a compromise — it is an intelligent spatial strategy that thousands of IT professionals and industrial engineers have adopted with measurable results.
Understanding why a wall mounted enclosure delivers a 40% floor-space saving requires looking at more than just the physical footprint. It involves rethinking how equipment is organized, how access paths are maintained, and how the entire room functions as a working environment. This article breaks down the spatial mechanics, structural suitability, equipment-fit logic, and practical installation considerations that make wall-mounted solutions one of the smartest hacks available to anyone managing a small server room or compact control environment.
The Floor-Space Problem in Small Server Rooms
Why Floor Space Disappears Faster Than Expected
A small server room typically measures anywhere from 50 to 200 square feet. Within that space, you need to accommodate networking gear, patch panels, switches, UPS systems, cable trays, and sometimes even HVAC equipment. When every piece of hardware sits on the floor inside a freestanding rack or open-frame cabinet, the geometry works against you quickly. Each floor-standing unit demands not only its own physical footprint but also a dedicated service clearance zone in front and often behind it.
That clearance requirement is where the real space loss occurs. Industry guidelines typically recommend 24 to 36 inches of clear access space in front of any rack for safe servicing and airflow management. Multiply that by three or four units and you have consumed the majority of a small room's usable area simply maintaining walkways around equipment that could otherwise be elevated off the floor entirely.
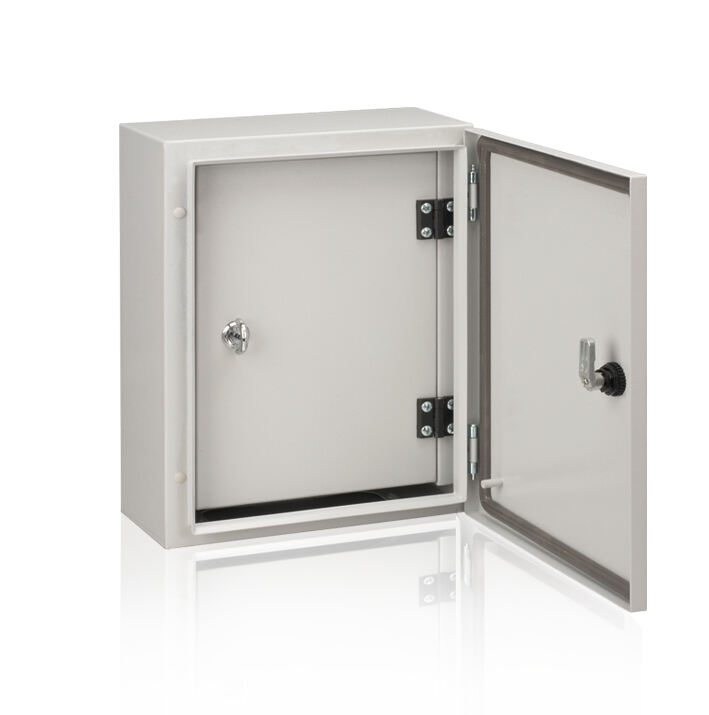
A wall mounted enclosure eliminates the floor footprint of the cabinet itself. The equipment still occupies wall real estate, but the floor beneath it remains completely open. This is the foundational geometry behind the 40% saving — and in tighter rooms, the reclaimed percentage can be even higher.
The Cumulative Effect of Poor Space Planning
Many small server rooms were not purpose-built. They evolved from converted closets, repurposed office corners, or underutilized utility spaces. In these environments, freestanding racks were added incrementally without a long-term spatial plan. The result is a room that feels perpetually full, where cable management becomes chaotic, and where adding even one new piece of hardware requires rearranging everything else.
Switching to a wall mounted enclosure strategy early — or retrofitting an existing layout — resets the planning logic. When the enclosures are affixed to the wall, the floor becomes a true utility corridor rather than a parking lot for equipment bases. This shift has downstream benefits for airflow, cable routing, and maintenance efficiency that compound over time.
How a Wall Mounted Enclosure Reclaims 40% of Floor Area
The Direct Footprint Calculation
A standard 12U freestanding cabinet typically has a base footprint of roughly 600mm by 600mm, or approximately 3.9 square feet. Add the mandatory front access clearance of 700mm and you have consumed nearly 8 to 9 square feet of floor space per unit just for one cabinet. In a 100-square-foot room, two or three of these units quickly account for 25 to 30% of the total area before any other equipment is considered.
A wall mounted enclosure carrying the same 12U of equipment removes the cabinet's base footprint entirely and repositions it on the vertical plane. The floor directly beneath the enclosure is now available for cable management infrastructure, cooling units, or simply as part of the access corridor. When you calculate the recovered floor area across multiple enclosures in a small room, reaching 40% reclaimed space is not an exaggeration — it is a straightforward arithmetic outcome.
The 40% figure also accounts for the reduction in minimum required service clearance distances. Because a wall mounted enclosure can swing open on hinges or offer front-access-only design, the clearance corridor in front serves a shared purpose for multiple enclosures rather than being dedicated to each individual unit. This shared-corridor efficiency adds another layer of spatial savings that floor-standing racks cannot replicate.
Vertical Space as an Underused Asset
Most small server rooms have ceiling heights between 8 and 12 feet, yet the top portion of that vertical envelope is almost never used by freestanding rack systems. A wall mounted enclosure leverages that vertical real estate deliberately. By mounting enclosures at a comfortable working height — typically with the bottom edge at around 500mm from the floor and the top reaching 1800mm — you are using a wall zone that would otherwise contribute nothing to equipment housing.
This vertical-first approach fundamentally changes how a small room is evaluated. Instead of asking 'how many racks fit on this floor,' the question becomes 'how much wall area is available?' In most small rooms, wall area is far more abundant than floor area, making the wall mounted enclosure strategy an asymmetric advantage for space-constrained installations.
Structural and Installation Suitability for Wall-Mounted Solutions
Wall Load Capacity and Mounting Requirements
The viability of a wall mounted enclosure installation depends primarily on the structural integrity of the wall surface. Solid concrete or masonry walls are ideal candidates and can typically support the combined weight of the enclosure and its contents without any supplementary reinforcement. Stud-framed drywall walls require careful anchor placement into the studs, and for heavier enclosures, a backing board or spreader plate may be necessary to distribute load across multiple stud bays.
Before specifying a wall mounted enclosure for a small server room, it is essential to confirm the wall's load-bearing capacity against the fully loaded weight of the enclosure. A 12U steel enclosure can weigh 25 to 35 kilograms empty, and with switches, patch panels, and cabling installed, the total weight can exceed 60 to 80 kilograms. Working with a structural engineer or following manufacturer mounting guidelines ensures that the wall anchor system is designed to the correct safety margins.
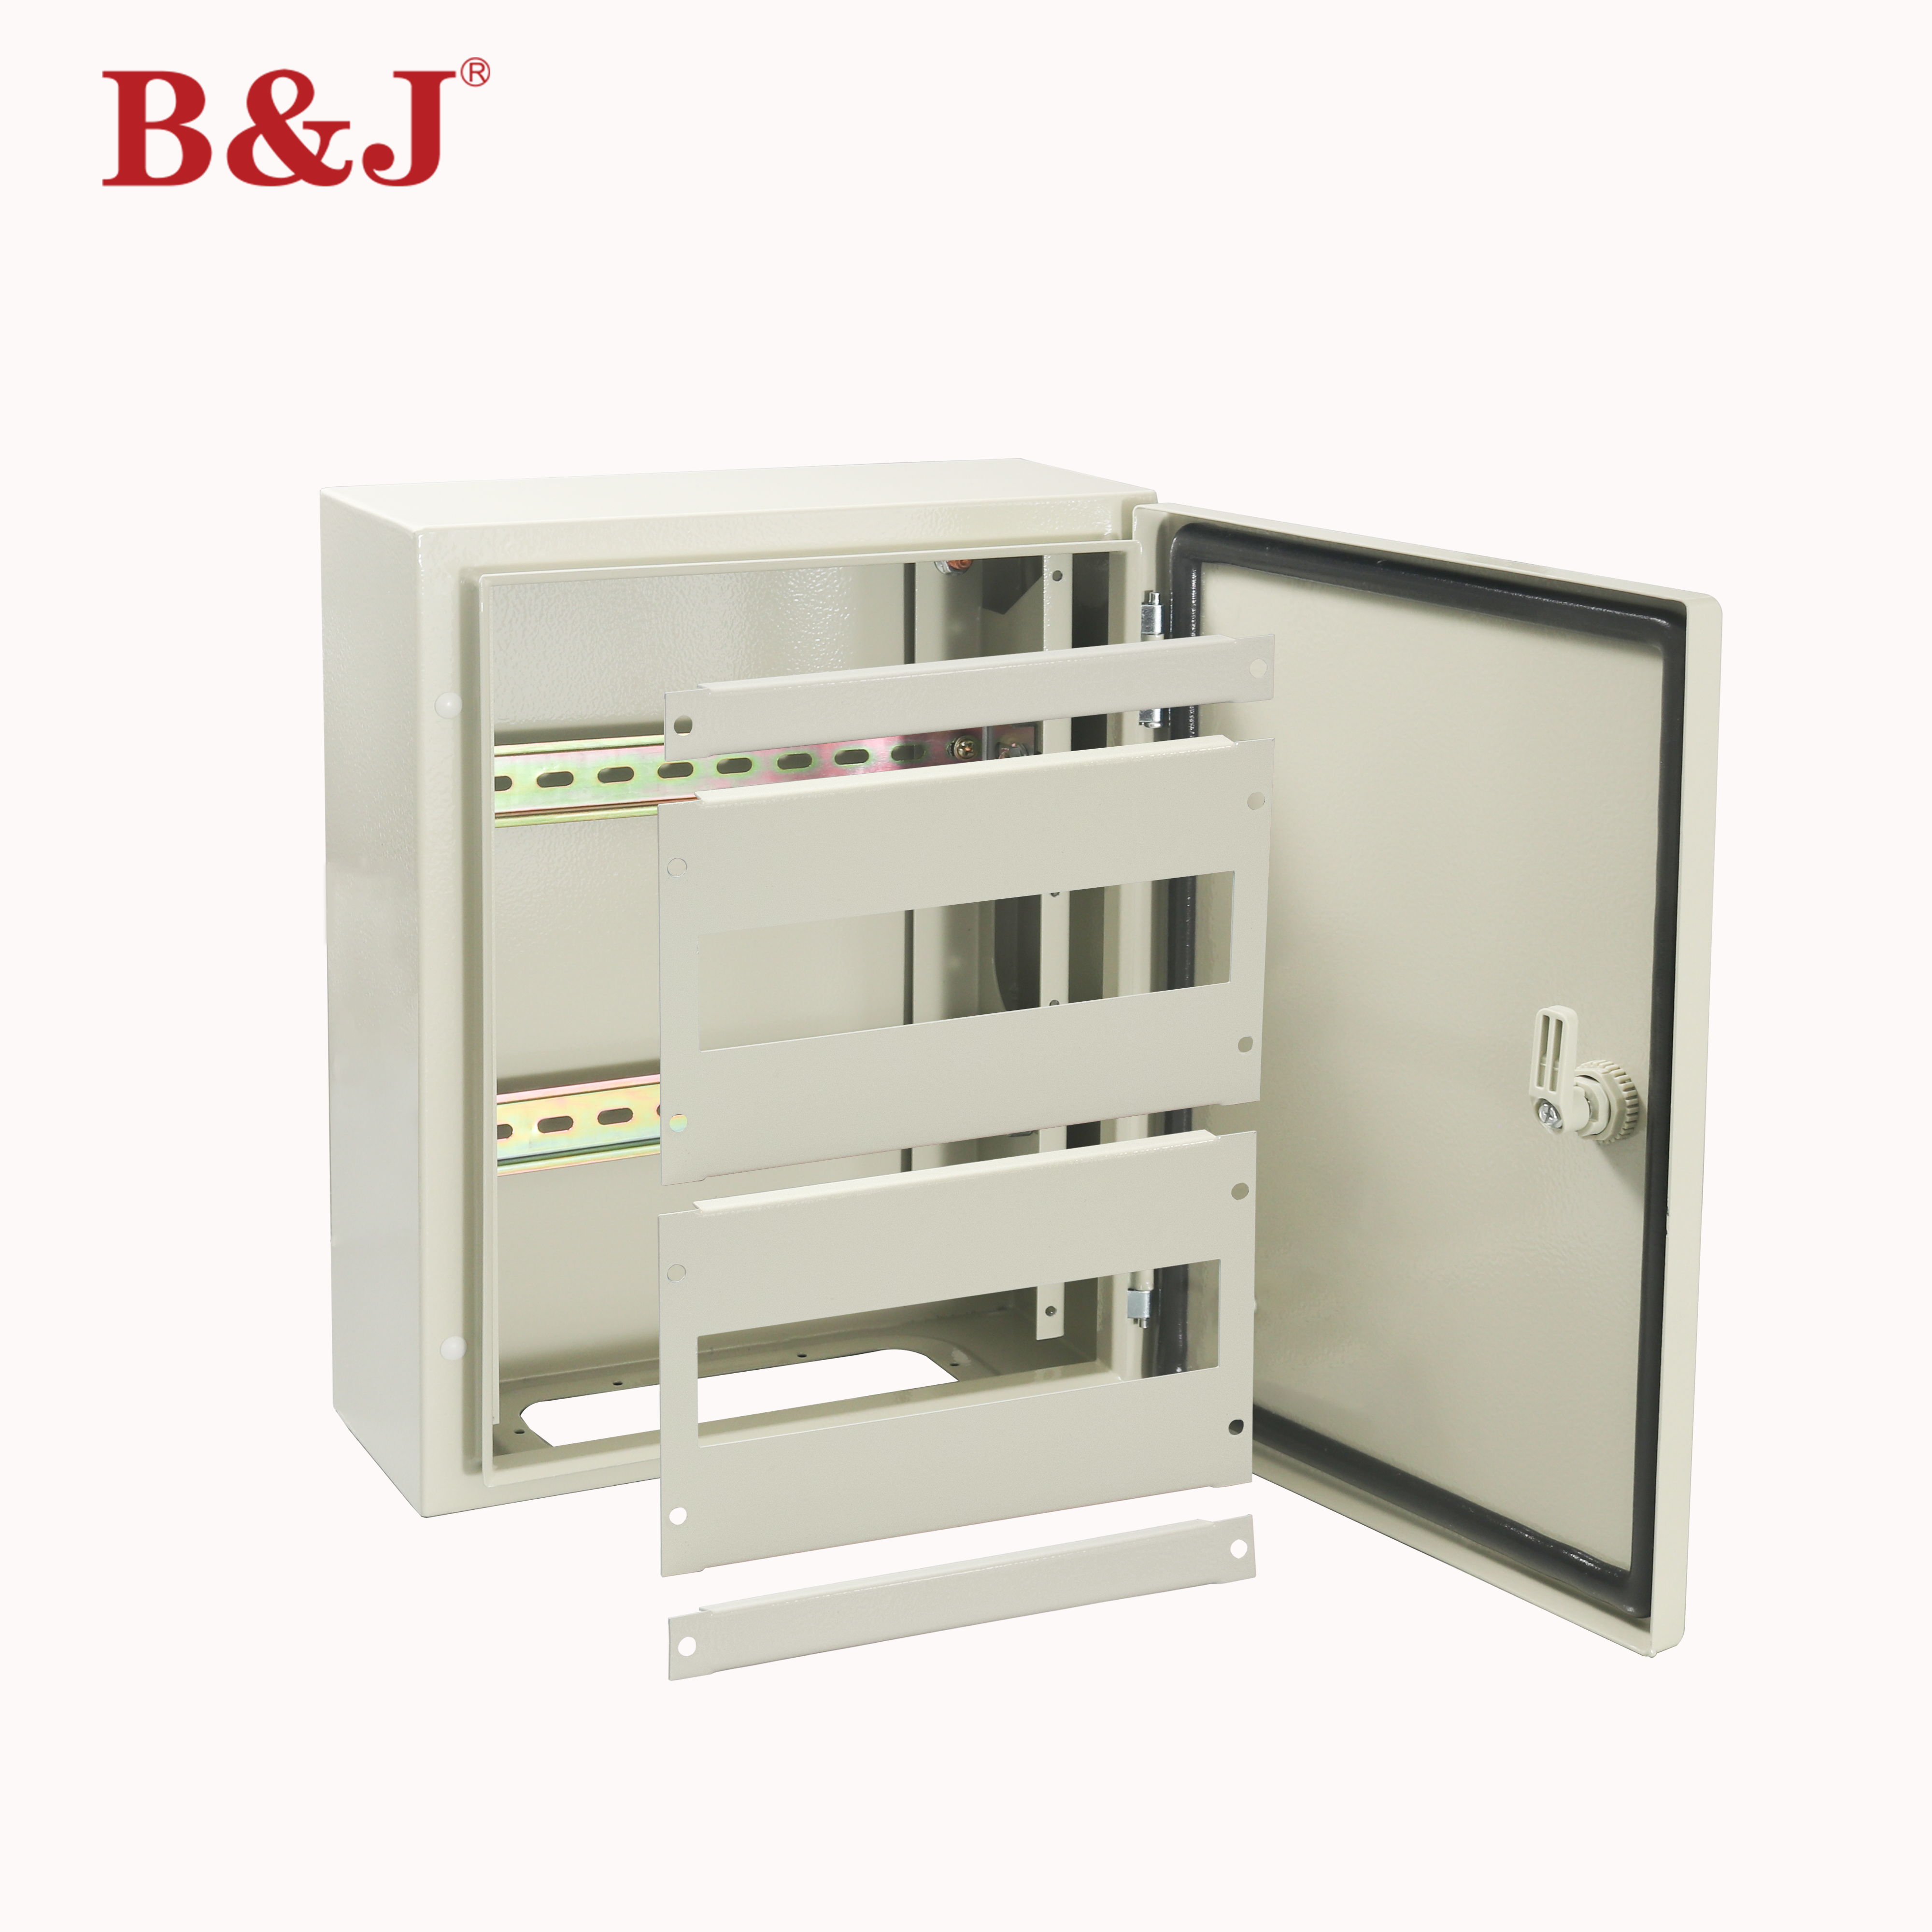
Many modern wall mounted enclosure designs include integrated mounting plates with pre-drilled anchor patterns that simplify this process. Industrial-grade steel enclosures with IP66 ratings are particularly well-engineered for robust wall-mounting, combining corrosion resistance with structural rigidity that makes them suitable for both IT environments and light industrial applications within the same facility.
Cable Entry, Routing, and Access Design
One practical concern that engineers raise when considering a wall mounted enclosure is cable management. Floor-standing racks benefit from below-floor cable access in raised-floor environments, but small server rooms rarely have raised floors. In these cases, the wall mounted enclosure actually provides more flexible cable entry options, not fewer. Cables can enter from the top, bottom, or sides depending on the enclosure design, and the wall surface behind the unit becomes a natural conduit pathway for bundled runs.
Access is another consideration that modern wall mounted enclosure designs address thoughtfully. Enclosures with internal swing-out doors or hinged frames allow full access to the mounted equipment without requiring the technician to stand directly in front of the unit for extended periods. This is particularly valuable when multiple enclosures are installed side by side on the same wall, as the shared access corridor serves all units simultaneously.
Equipment Compatibility and Use-Case Fit
Which Equipment Works Best in a Wall Mounted Enclosure
Not all server room equipment is equally well-suited to wall mounting. Lighter, rack-unit-format equipment such as network switches, patch panels, fiber distribution frames, small UPS units, KVM switches, and access control panels are ideal candidates for a wall mounted enclosure. These devices are typically within the weight and depth tolerances that wall-mount enclosure designs accommodate, and they do not generate the heat loads that require the intensive airflow management of deep floor-standing server racks.
Heavier, deeper equipment such as full-depth blade server chassis or large UPS battery banks is generally not the best fit for a wall mounted enclosure. For mixed environments where both types of equipment must coexist, a hybrid approach works well — wall mounted enclosures handle the networking and distribution layer while a single deep rack on the floor manages the compute-heavy hardware. This hybrid strategy can still achieve 30 to 40% floor-space savings compared to an all-floor-standing layout.
Industrial environments that share server-room-like characteristics — small control rooms, on-site automation panels, PLC environments — frequently use wall mounted enclosures as the primary housing solution for control hardware. The IP66 rating available on steel wall mounted enclosures makes them particularly well-suited for environments where dust, humidity, or occasional wash-down conditions are present alongside sensitive electronics.
Thermal Management Considerations at Wall Level
Heat management is a legitimate concern when transitioning from floor-standing racks to a wall mounted enclosure configuration. Floor racks typically benefit from underfloor cold air supply in data center environments, but small server rooms rarely have this infrastructure. At wall level, the thermal dynamic shifts — heat rises naturally, and wall-mounted equipment can benefit from passive convection when the enclosure design includes ventilated top panels and filtered bottom inlets.
For equipment with higher heat dissipation, wall mounted enclosures are available with fan-tray mounting options and thermostatically controlled ventilation. The key is to match the enclosure's thermal management accessories to the actual heat load of the installed equipment rather than assuming all enclosures handle heat identically. Proper thermal planning ensures that the space-saving benefits of wall mounting are not compromised by equipment reliability issues caused by insufficient cooling.
Planning and Deploying a Wall-Mounted Strategy in Your Server Room
Audit, Layout, and Specification Steps
A successful wall mounted enclosure deployment begins with a thorough audit of the existing equipment inventory and the available wall surfaces in the server room. This audit should document the weight of each intended equipment load, the cable volumes entering each enclosure zone, the power requirements, and the heat output of the installed hardware. With this data in hand, specifying the correct enclosure size, depth, and mounting configuration becomes a straightforward engineering exercise rather than a guessing game.
Wall surface selection follows from the structural assessment. Identify the walls that combine adequate load capacity with proximity to power distribution and network backbone entry points. In most small server rooms, one or two primary walls will emerge as natural candidates. Planning for cable trunking runs along the wall surface before mounting the enclosures simplifies the installation significantly and results in a much cleaner finished environment.
When specifying the wall mounted enclosure itself, consider not only the current equipment load but also anticipated growth over the next three to five years. Selecting an enclosure with a few rack units of spare capacity — and planning for a second unit on the same wall if expansion is likely — avoids the need for disruptive retrofits later. A wall mounted enclosure strategy that accounts for growth from day one delivers its space and operational advantages sustainably rather than requiring repeated replanning cycles.
Installation Best Practices and Long-Term Maintenance
The installation of a wall mounted enclosure should follow a systematic sequence: wall marking and anchor drilling, mounting plate installation and torque verification, enclosure hanging and leveling, cable entry preparation, and finally equipment installation and dressing. Rushing any of these steps introduces risks that are disproportionately costly in a live server room environment. Taking time to verify anchor torque specifications and enclosure level before populating the unit with equipment prevents vibration-related issues and ensures the door swing operates correctly throughout the service life of the installation.
Long-term maintenance of a wall mounted enclosure is generally simpler than maintaining floor-standing racks because the units are at a convenient working height, the floor beneath is unobstructed, and the enclosed design keeps dust accumulation inside the unit rather than allowing it to circulate in the room. Periodic inspection of anchor integrity, filter cleaning or replacement, and cable tie maintenance are the primary recurring tasks. Establishing a quarterly maintenance schedule for these items ensures the wall mounted enclosure continues to deliver reliable protection and access throughout its operating life.
FAQ
What types of server rooms benefit most from a wall mounted enclosure strategy?
Small server rooms between 50 and 200 square feet benefit most, as well as converted spaces such as IT closets, on-site control rooms, and edge computing installations where floor space is strictly limited. Any environment where the networking and distribution layer is more space-intensive than the compute layer will see strong returns from deploying a wall mounted enclosure as the primary housing solution.
How much weight can a typical wall mounted enclosure support?
Weight capacity varies by enclosure model and wall construction, but industrial-grade steel wall mounted enclosures are commonly rated to carry between 50 and 150 kilograms of internal equipment load when properly anchored to a masonry or adequately reinforced wall. Always verify the specific load rating of the chosen enclosure model against your fully loaded equipment weight, and follow the manufacturer's anchor specification for the wall type in your installation.
Does a wall mounted enclosure require special cooling that floor-standing racks do not?
Not necessarily. For networking-layer equipment with modest heat output, passive ventilation through filtered vents is often sufficient. For higher heat loads, wall mounted enclosures are available with fan-tray accessory slots and thermostatically controlled fans that provide active cooling comparable to what is used in floor-standing racks. The cooling approach should be determined by the actual heat load of the installed equipment rather than the mounting orientation of the enclosure.
Can a wall mounted enclosure be used outdoors or in industrial environments?
Yes. Steel wall mounted enclosures with IP66 certification are designed to resist dust ingress and high-pressure water jets, making them suitable for industrial production floors, outdoor sheltered installations, and environments with elevated humidity or contamination risk. The IP66 rating ensures that the enclosure provides robust protection for sensitive electronics in conditions that would damage a standard open-frame rack or lower-rated cabinet.
Table of Contents
- The Floor-Space Problem in Small Server Rooms
- How a Wall Mounted Enclosure Reclaims 40% of Floor Area
- Structural and Installation Suitability for Wall-Mounted Solutions
- Equipment Compatibility and Use-Case Fit
- Planning and Deploying a Wall-Mounted Strategy in Your Server Room
-
FAQ
- What types of server rooms benefit most from a wall mounted enclosure strategy?
- How much weight can a typical wall mounted enclosure support?
- Does a wall mounted enclosure require special cooling that floor-standing racks do not?
- Can a wall mounted enclosure be used outdoors or in industrial environments?