 EN
EN

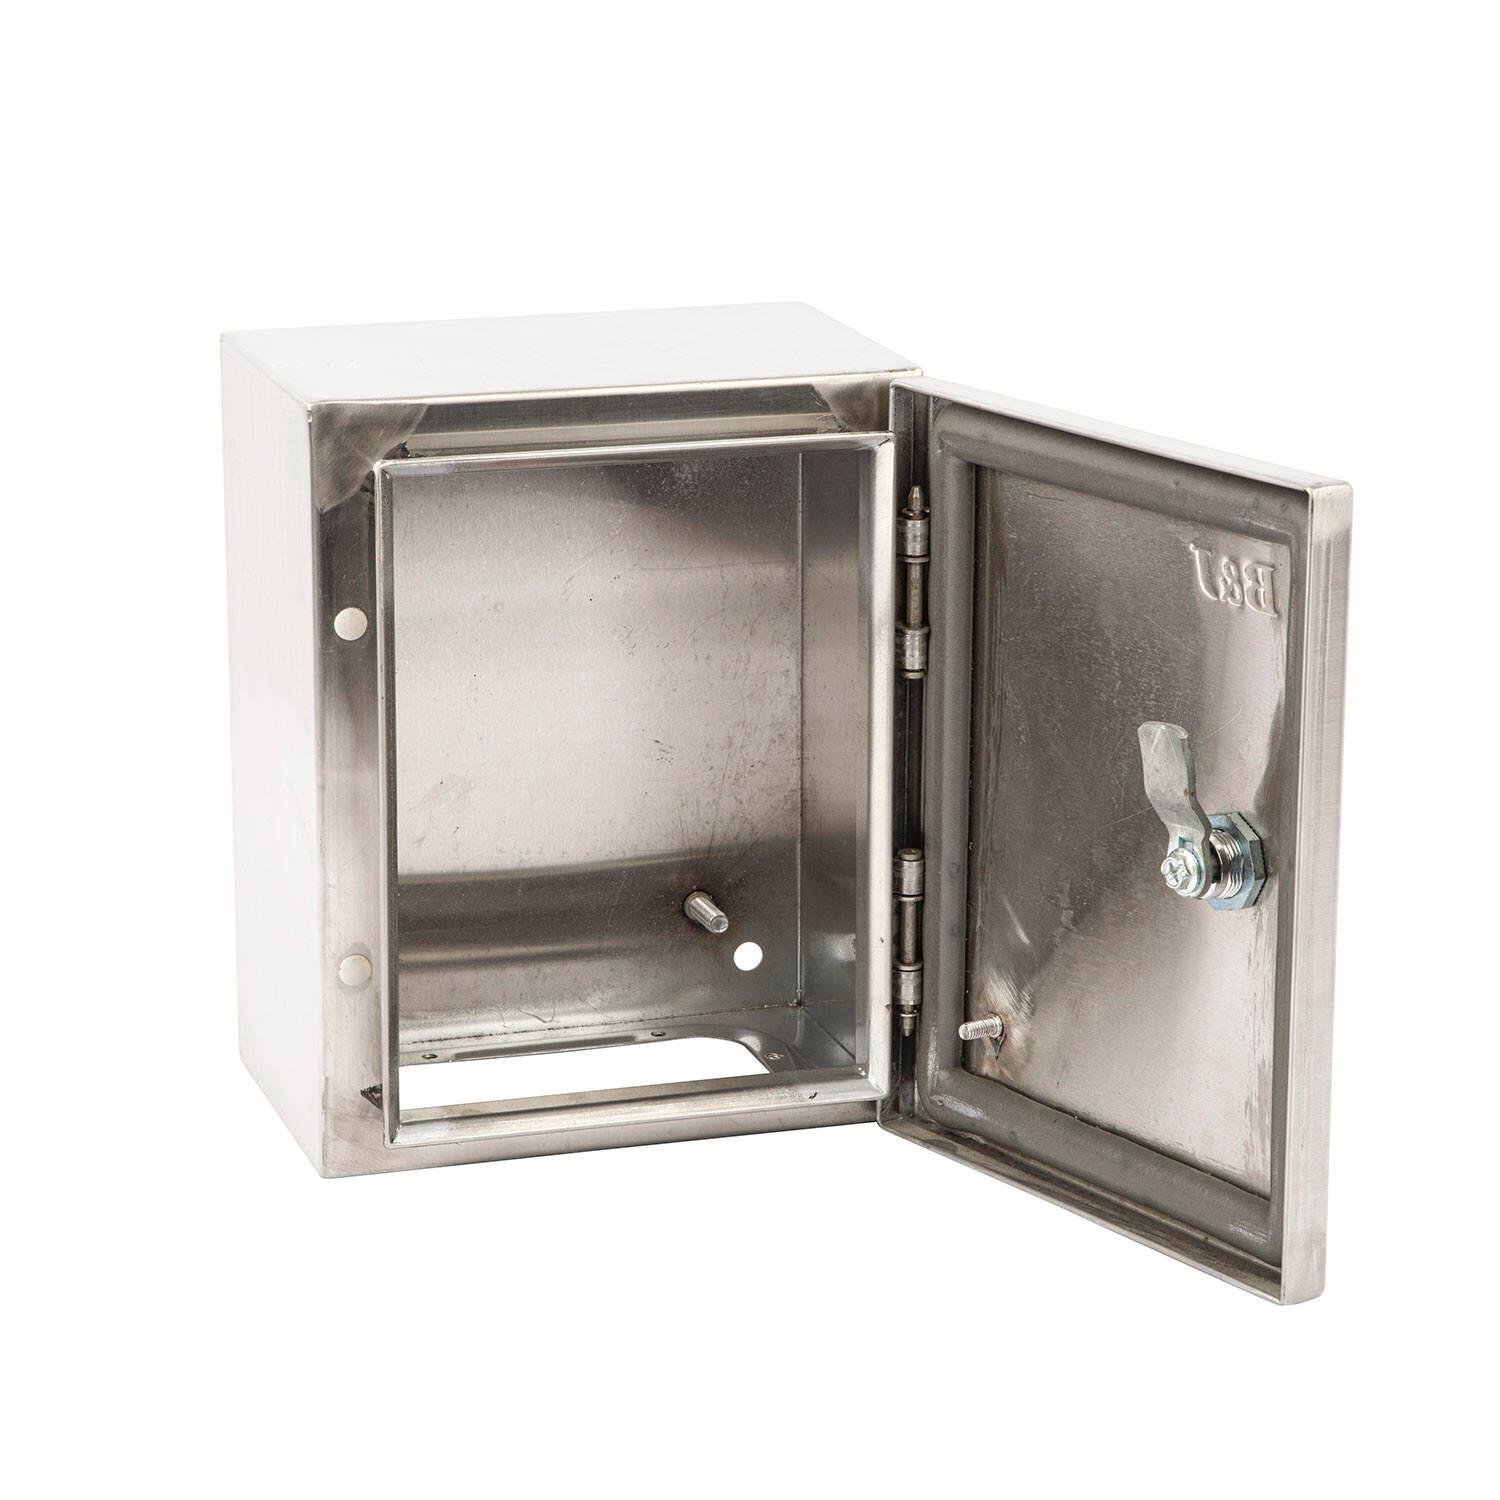
Fingerprints and oil film are a persistent issue in any facility where operators touch equipment throughout the day. A stainless steel enclosure can look clean at shift start and still show smudges, drag marks, and hand oils by mid-shift, especially near latch points and door edges. The practical goal is not just visual improvement, but stable hygiene, corrosion resistance, and easier inspection. The most reliable way to clean a stainless steel enclosure is to combine the correct chemistry, wiping direction, and maintenance cadence so residue is removed instead of spread.
In industrial environments, random wiping with any available cloth often leaves streaks and may even scratch the finish over time. A stainless steel enclosure needs a method that matches the enclosure finish, contamination level, and operating conditions such as humidity, dust, and chemical exposure. This guide walks through a step-by-step cleaning workflow, from preparation and product choice to stubborn oil removal and long-term prevention. When applied consistently, the process keeps each stainless steel enclosure cleaner for longer with less labor.
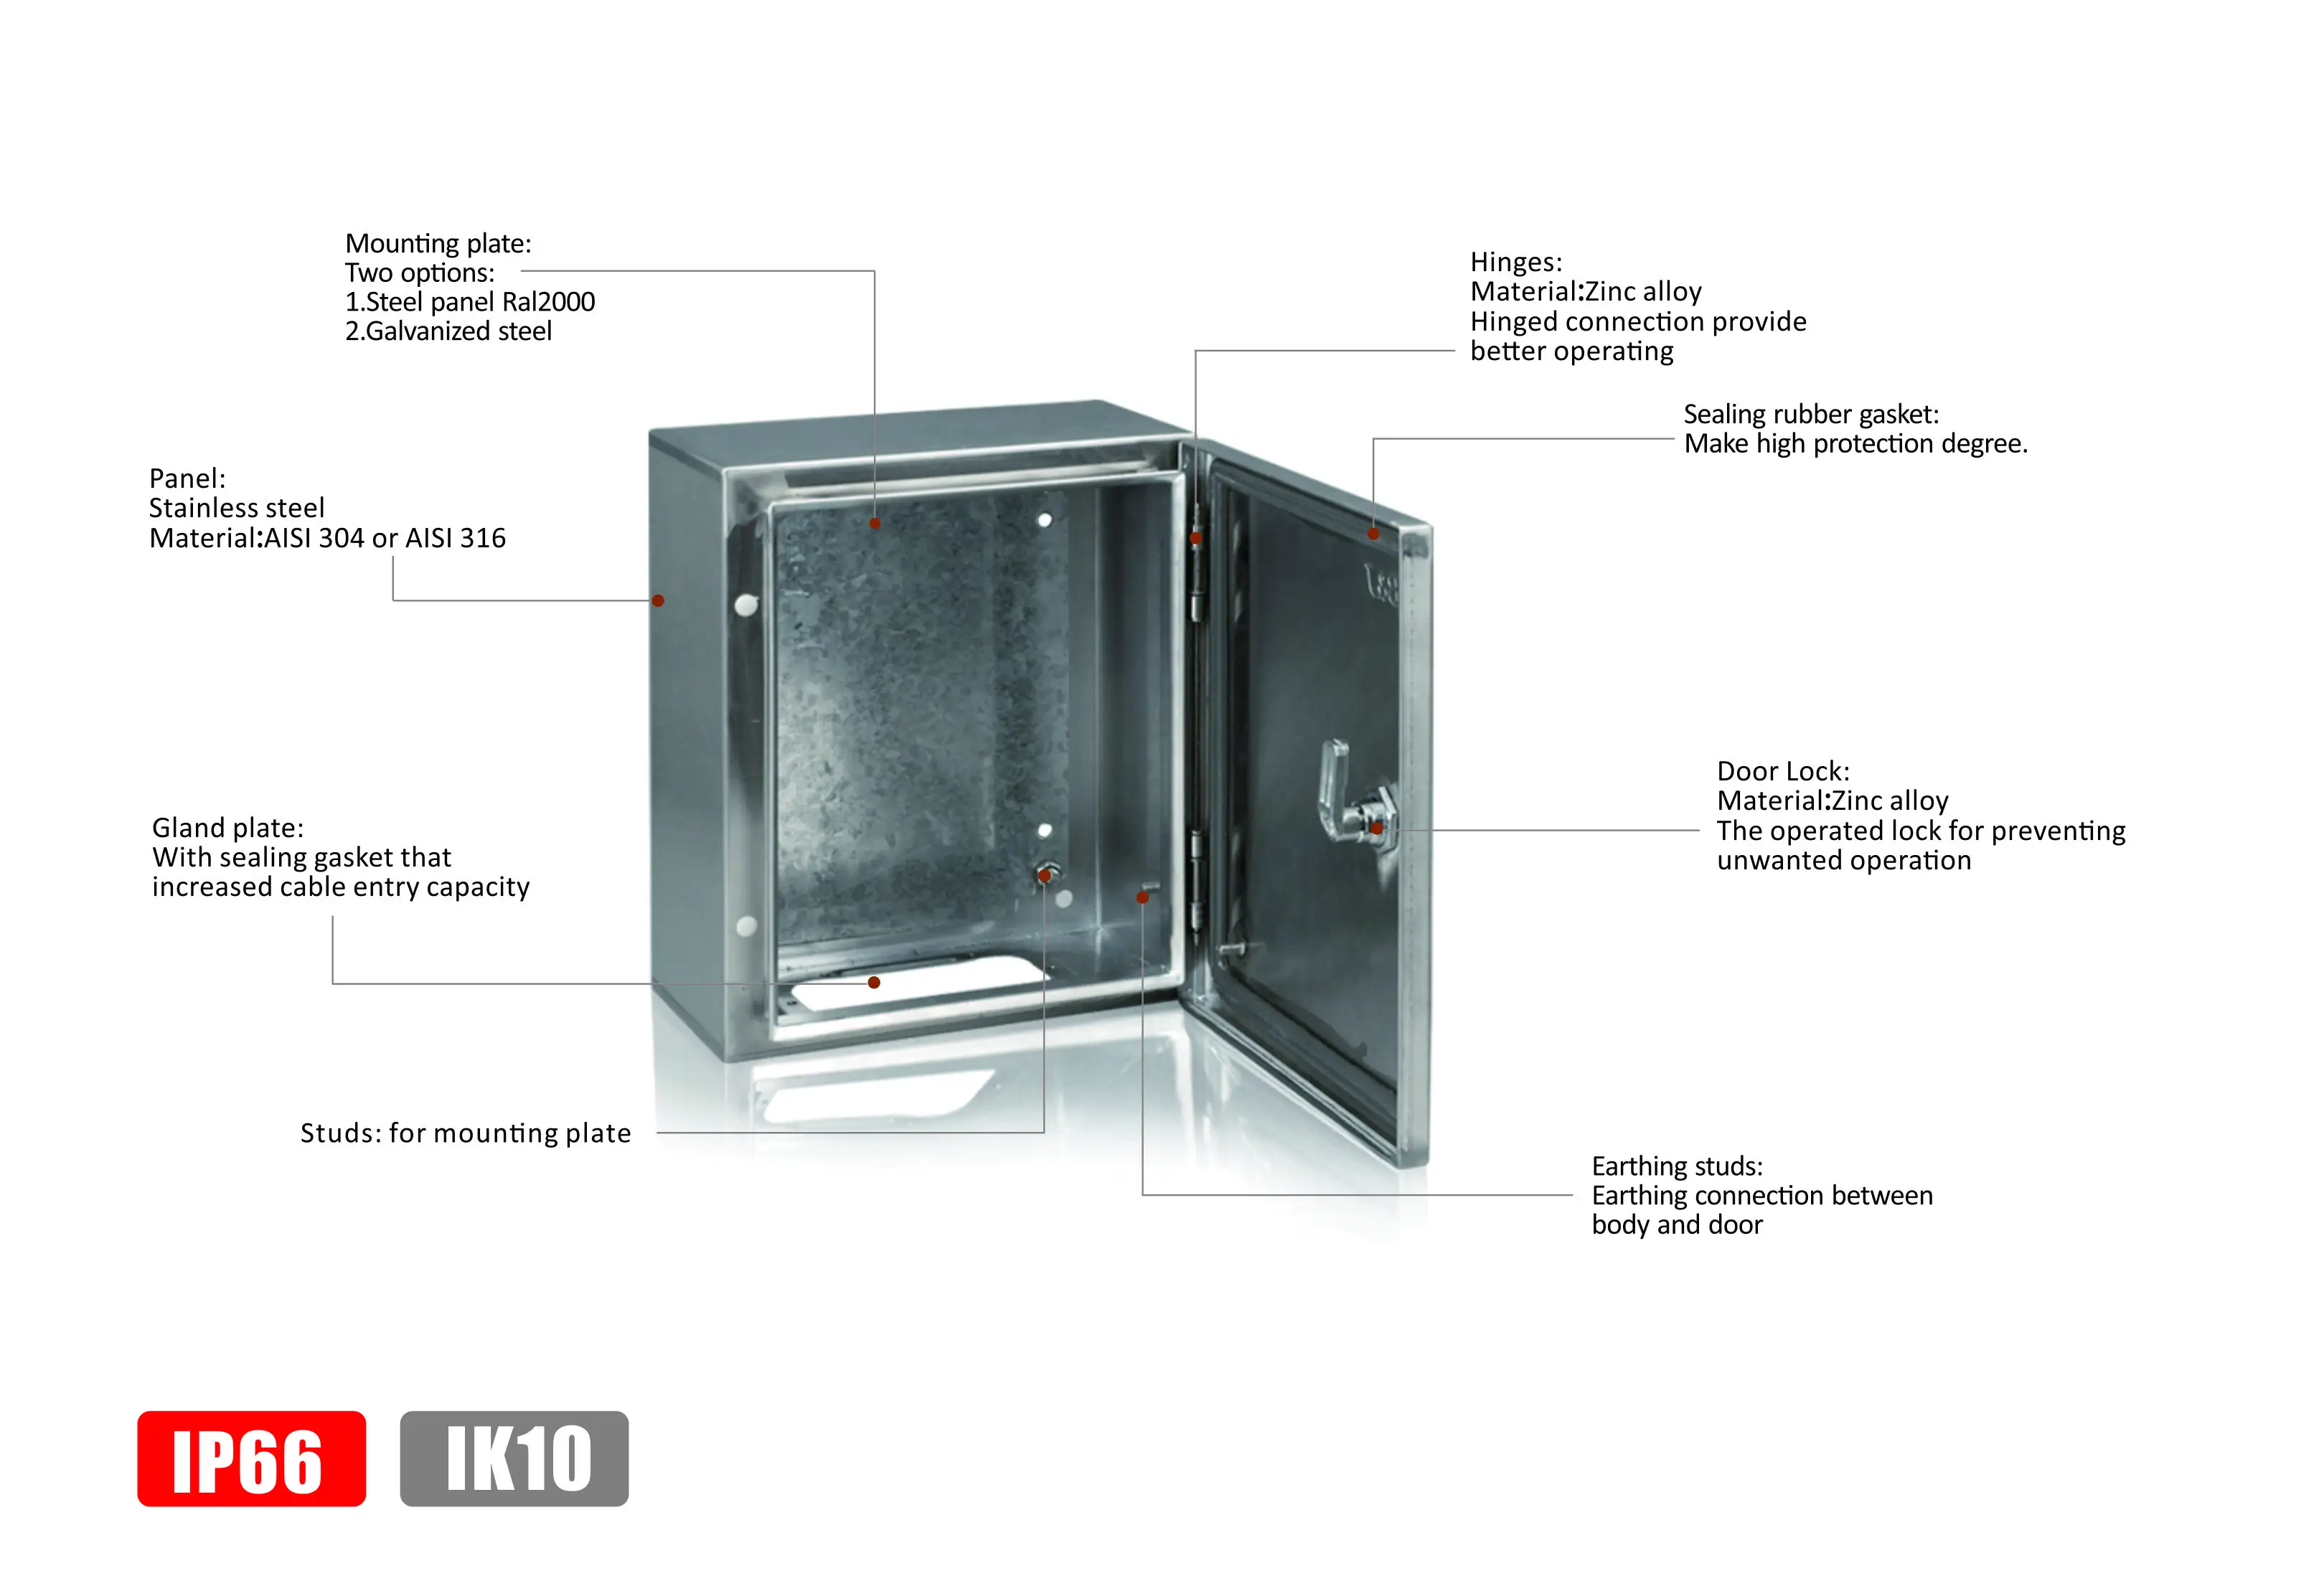
Start with Surface Assessment and Preparation
Identify contamination zones before touching the surface
Before cleaning, inspect each stainless steel enclosure under angled light to locate high-contact and high-residue areas. Fingerprint buildup is usually concentrated around handles, hinges, viewing windows, and lower door sections where gloves or bare hands press repeatedly. Oil film often appears as dull haze, while fresh fingerprints show sharper contrast against the grain. Mapping these zones first helps avoid over-wiping low-risk areas and focuses effort where the stainless steel enclosure actually needs treatment.
This initial assessment also helps separate cosmetic smudges from process contamination. In some plants, a stainless steel enclosure near lubrication points can collect airborne mist that behaves differently from simple hand oils. If residue feels tacky or returns quickly after cleaning, contamination is likely process-related and may require degreasing plus airflow or shielding adjustments. Accurate identification prevents repeated ineffective cleaning cycles on the same stainless steel enclosure.
Set up a clean, controlled wiping station
Use clean microfiber cloths, a neutral cleaner, and an alcohol-based final wipe where appropriate for the finish and site policy. Dirty rags are a common reason a stainless steel enclosure ends up with streaks, because oils are redistributed rather than removed. Keep separate cloths for wet cleaning and dry buffing, and replace them frequently during a round. A disciplined setup is the first step in achieving consistent appearance across every stainless steel enclosure in production.
Preparation should include safe shutdown or isolation where required by maintenance procedures. A stainless steel enclosure around energized controls should never be cleaned in a way that introduces excess liquid into seams or cable entries. Lightly dampened cloths are generally safer than direct spraying on the door face. This reduces ingress risk while still allowing effective removal of fingerprints and oil from each stainless steel enclosure.
Use the Right Cleaning Chemistry and Technique
Choose cleaners that cut oil without attacking the finish
For routine fingerprints, a pH-neutral cleaner is usually enough to clean a stainless steel enclosure without surface stress. For heavier oil, use a mild degreasing agent approved for stainless surfaces and test it first on a small, less visible area. Strong chlorine products or highly abrasive compounds can damage finish uniformity and create future soil-retention points. The right chemistry protects both appearance and lifecycle performance of the stainless steel enclosure.
In many maintenance programs, a two-step chemical approach works best. First, a cleaner lifts oils and salts; second, a controlled alcohol wipe removes remaining film and speeds drying on the stainless steel enclosure. This sequence reduces smear patterns that are common when one product is expected to do everything. It also makes inspection easier because reflected light on the stainless steel enclosure becomes more even after residue is fully removed.
Apply a directional wipe sequence to prevent streaking
Always wipe with the grain direction when cleaning a stainless steel enclosure, especially on brushed finishes. Circular rubbing can trap micro-residue in multiple directions and make the surface look cloudy under overhead lighting. Start with a damp pass to loosen contamination, then a second pass with a clean side of cloth to lift it away. Finish with a dry microfiber pass so the stainless steel enclosure dries without drag lines.
Use light to moderate pressure rather than aggressive scrubbing. Excess pressure can burnish localized areas and cause uneven sheen on a stainless steel enclosure, which then attracts visual attention even when clean. Rotating cloth sections frequently is essential because saturated fibers lose pickup efficiency quickly. This method keeps each stainless steel enclosure clear of both oils and secondary lint contamination.
For teams sourcing replacements or expansion units, it helps to standardize cleaning behavior across all cabinets, including any stainless steel enclosure installed outdoors where fingerprints mix with airborne particles. A consistent wipe direction and product set reduces visual mismatch between new and existing surfaces. That consistency matters in regulated areas where cleanliness and documentation are reviewed together.
Handle Stubborn Oils Without Damaging Finish
Target heavy residues with controlled dwell time
When a stainless steel enclosure has old, compacted oil, immediate wiping often fails because the residue layer is bonded to dust and salts. Apply cleaner to the cloth, transfer it to the surface, and allow a short dwell period so the film softens. Dwell time should be controlled and brief to avoid drying marks, then followed by a fresh wipe in grain direction. This approach improves lift performance on a stainless steel enclosure without abrasive action.
If residue remains, repeat short cycles rather than escalating to harsh chemicals right away. Multiple gentle passes usually outperform one aggressive pass on a stainless steel enclosure because each cycle removes another thin layer. Monitor cloth appearance; when dark transfer slows, switch to polishing passes with a clean dry cloth. This staged method preserves finish quality while clearing stubborn fingerprints and oil.
Restore uniform appearance after deep cleaning
After heavy contamination removal, the stainless steel enclosure may show patchy reflectivity where oils were concentrated. A final full-panel wipe from top to bottom helps blend the finish and remove edge lines from spot treatment. Work in overlapping strokes so each area receives equal attention and drying. The result is a stainless steel enclosure with consistent tone rather than visibly cleaned islands.
Corner transitions and hardware interfaces need special attention because cleaning fluid can collect in those points. Use a slightly damp, tightly folded microfiber edge to clean around latches and gasket borders on the stainless steel enclosure. Follow with a dry pass to prevent fluid retention marks. This detail work often determines whether a stainless steel enclosure looks professionally maintained or only partially cleaned.
Build a Repeatable Maintenance Protocol
Set cleaning frequency by touch intensity and process exposure
A sustainable plan starts by classifying each stainless steel enclosure by contact frequency and nearby process conditions. High-touch units at operator stations may need daily attention, while low-touch units in controlled rooms may only need weekly service. Areas with oil mist, dust, or frequent glove contact usually require more frequent wipe-down cycles. Matching schedule to exposure keeps the stainless steel enclosure clean without wasting labor on unnecessary passes.
Documenting frequency also improves consistency across shifts. Without a written standard, one team may over-clean a stainless steel enclosure while another delays until visible smearing appears. A simple interval matrix tied to inspection outcomes creates predictable cleanliness levels. Over time, this approach lowers total effort because each stainless steel enclosure is cleaned before buildup becomes difficult to remove.
Train teams on method discipline and verification
Training should emphasize sequence, cloth control, and finish protection rather than speed alone. Even experienced technicians can leave streaks on a stainless steel enclosure when wipe direction changes mid-panel or cloth saturation is ignored. Short, repeatable work instructions help teams produce uniform results regardless of shift timing or staffing variation. Consistent execution extends the clean appearance window of every stainless steel enclosure.
Verification can be done through visual checks under angled light and periodic supervisor spot audits. A stainless steel enclosure that passes inspection should show no smearing halos, no drag lines, and no oily feel near touch points. Capturing these criteria in maintenance logs supports audit readiness and process reliability. It also turns cleaning from an ad hoc task into a controlled care routine for each stainless steel enclosure.
When this protocol is followed, fingerprint and oil removal becomes faster over time because surfaces do not reach heavy accumulation states. The stainless steel enclosure remains easier to sanitize, easier to inspect, and more consistent with facility standards. That combination is the practical outcome most B2B operations need: reliable cleanliness, controlled effort, and reduced rework.
FAQ
What is the fastest safe method for daily fingerprint removal on a stainless-steel enclosure?
Use a two-cloth process on each stainless steel enclosure: one lightly damp microfiber cloth with neutral cleaner, followed by one dry microfiber cloth in the same grain direction. This removes fresh oils before they spread and prevents streaking from residual moisture. Keep pressure moderate and rotate cloth sections often. The process is quick, repeatable, and safe for routine daily maintenance.
Can alcohol alone remove oil from a stainless-steel enclosure?
Alcohol can remove light film from a stainless steel enclosure, but it is less effective on heavier oily residue bound with dust. A mild cleaner or degreaser step first usually improves results, then alcohol works well as a finishing wipe. Using alcohol alone on heavy buildup often leads to smearing. Pairing products in sequence is usually more reliable.
How can I prevent streaks after cleaning a stainless-steel enclosure?
Streaks on a stainless steel enclosure are usually caused by over-wet application, cloth saturation, or wiping against the grain. Use minimal liquid, follow grain direction, and complete a dry finishing pass immediately. Replace cloths once they start transferring residue back to the surface. Consistent technique matters more than stronger chemicals.
How often should an industrial stainless-steel enclosure be deep cleaned for oil buildup?
Deep-clean interval for a stainless steel enclosure depends on touch load and process exposure, but many industrial teams use a monthly or biweekly cycle for high-contact zones. Daily or shift-based light cleaning prevents heavy accumulation between deep-clean rounds. Track visible residue return time and adjust frequency accordingly. A schedule based on actual contamination patterns keeps each stainless steel enclosure in stable condition.
Table of Contents
- Start with Surface Assessment and Preparation
- Use the Right Cleaning Chemistry and Technique
- Handle Stubborn Oils Without Damaging Finish
- Build a Repeatable Maintenance Protocol
-
FAQ
- What is the fastest safe method for daily fingerprint removal on a stainless-steel enclosure?
- Can alcohol alone remove oil from a stainless-steel enclosure?
- How can I prevent streaks after cleaning a stainless-steel enclosure?
- How often should an industrial stainless-steel enclosure be deep cleaned for oil buildup?